Imaginando
Material Browser
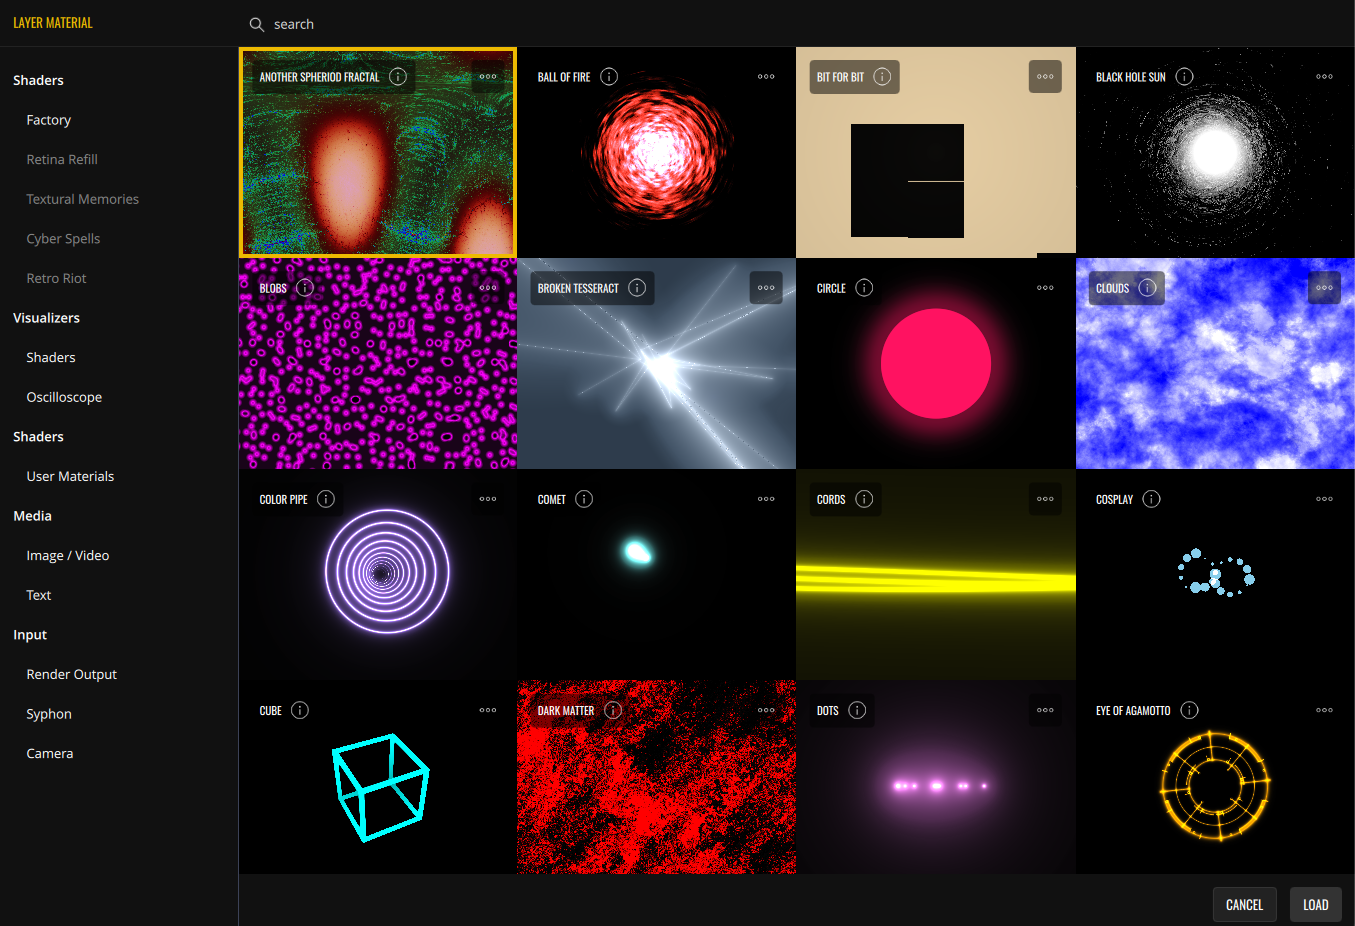
You can change a Layer’s material in the Material Browser. As previously mentioned, you can open it by either double clicking the Layer thumbnail or by opening the Layer context menu (right click) and clicking ‘Materials’. Once open, you’ll be able to select the material type using the providers on the left. The remainder of the interface shows the materials themselves.
The material type is divided into categories:
- Shaders - VS offers a range of shaders. The ones from the Factory bank are available by default, while other banks can be acquired as expansions. Each shader has its own set of unique parameters.
- Visualizers - These are a special kind of shader, capable of receiving audio information directly. Here you’ll find various visualizers and an oscilloscope, each one with its own set of parameters.
- User Materials - Your custom materials. See Material Editor: Making your own shaders.
- Media
- Image / Video - Load images and videos from VS’s resources or from your disk.
- Image Folder - Choose a folder either from VS’s resources or directly from your local disk to serve as an Image Pool. Once selected, you can easily cycle through the images in that folder using the ‘Pool’ parameter on the layer.
- Text - Insert text in a Layer. Text can be edited in Layer Properties → Text.
- Input - Live input feeds.
- Render Output - The output of all Layers combined. This can be used for feedback effects, achieving unique visuals even with few materials.
- Syphon (macOS only) - If a Syphon server is active, receive its video feed in the Layer — useful for integrating video from other media applications. Note that Syphon must be enabled in the Settings.
- Spout (Windows only) - If a Spout server is active, receive its video feed in the Layer — useful for integrating video from other media applications. Note that Spout must be enabled in the Settings.
- Camera - If a camera is connected to your computer, this option receives its live feed in the Layer.
If you want to learn more about each material, please check our Shaders, Images/Videos, Visualizers, Text and Inputs Youtube tutorials.
Bookmarks, favorites and custom media in iOS
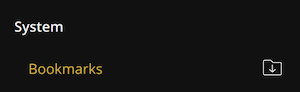
Within the Image/Video and Image Folder providers, you will find a Bookmarks section. This area displays your favorite folders, which you can set by clicking the Star icon next to any folder name. You can also manually add new directories to this list by clicking the Folder button shown in the image above.
For iOS users: If you want to browse your custom medias using VS 2 browser, you must use the Folder button to add your own directories to the Bookmarks. This grants VS the necessary permissions to access and load your custom files onto the layers.
Material Search and Clear Cache.
The search bar, located on top, can be used to search through all the available materials. Materials can be loaded by clicking the Load button located on the bottom. Shaders, Visualizers and Media can also be loaded by double clicking the desired material.
All shaders have an Options button which will open the context menu.
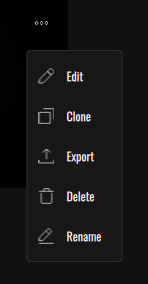
- Edit (user materials only) - Edit the material in the Material Editor.
- Clone - Create a copy of the material, move it to User Materials and open the Material Editor.
- Export (user materials only) - Export the material.
- Delete (user materials only) - Delete the material.
- Rename (user materials only) - Rename material.
On the bottom left there is a clear cache button. Resetting the shader cache will force them to recompile on the next reboot. Try this if shaders are failing to display.